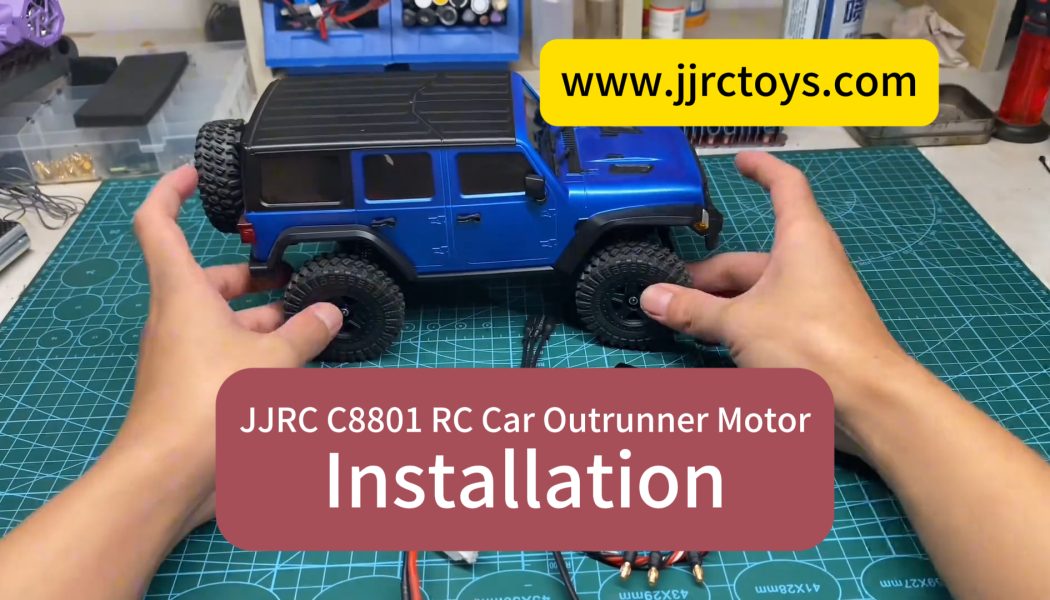
JJRC C8801 RC Car Outrunner Motor (Damage-free installation)
Installation Steps:
- I. Prepare Tools and Materials:
- Outrunner Motor: 2212 2200KV
- ESC: 50A (Custom-made, avoid buying mismatched ESCs)
- Battery: Gens Ace 650mAh 75C 11.1V 3S (XT30 connector)
- Receiver (with light set)
- Other Installation Tools: Screwdrivers, etc.

- II. Disassembly Steps:
- Remove the shell: Take off the car shell to make future operations easier, especially for changing the battery.
- Disassemble the motor and gearbox: Remove the motor first, then the gearbox. This step is fairly simple; just follow the usual disassembly process.


- III. Install the Outrunner Motor:
- Installation Order:
- Start by securing the motor with the mounting screws. When tightening the screws, do not over-tighten them at first. Leave some space for the motor to move slightly to align with the screw holes.
- Once aligned, tighten the screws firmly.
- Check the motor movement: Ensure that the motor rotates smoothly without any obstruction, confirming that the installation is correct.
- Installation Order:


- IV. Install the Battery and Receiver:
- Install the battery: Place the battery into the car’s battery compartment, ensuring that it fits securely and properly aligns with the mounting points.
- Install the receiver and light set: Install the receiver according to your needs, ensuring proper wiring for the light set.
- Secure the battery: Once the battery is installed, use a strap to secure it, ensuring it won’t shift during operation.


- V. Wiring and Cable Management:
- You can arrange the wires according to your personal preference. Make sure to keep the wires neat to avoid interference with the internal space and to maintain a tidy appearance.
- Next Episode: In the next issue, I’ll share the wiring diagram for the lights and outline all the materials and tools needed.
- VI. Final Check and Power On:
- Perform a final check to ensure all components are securely installed and all screws are tightened.
- Power up the system to ensure the ESC and outrunner motor function properly, and the car operates smoothly.

Just to emphasize again: The original remote control is not compatible and needs to be replaced!